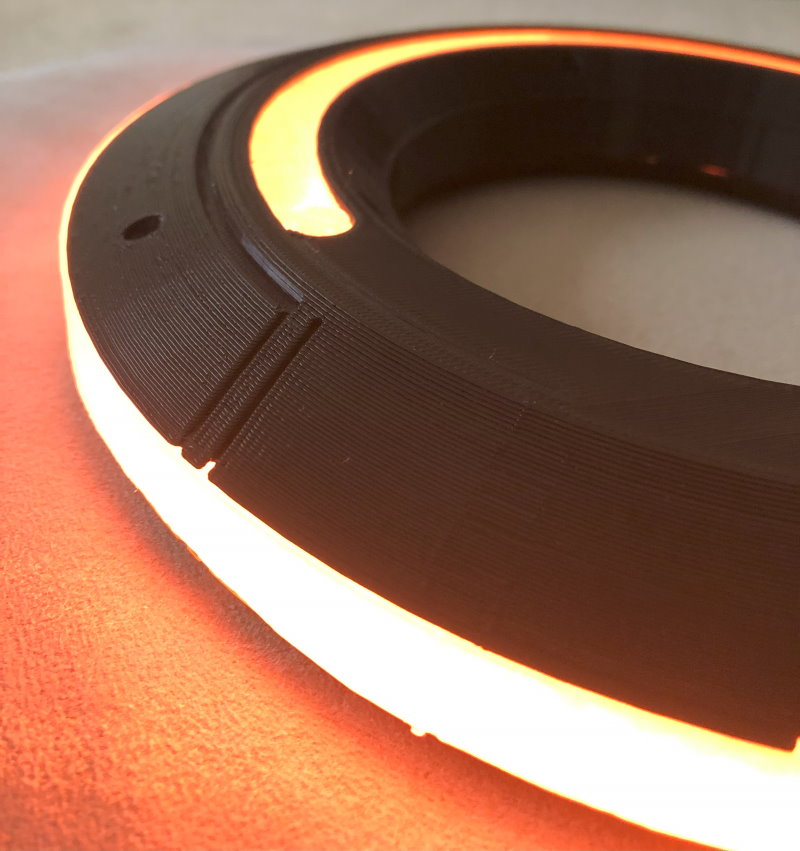
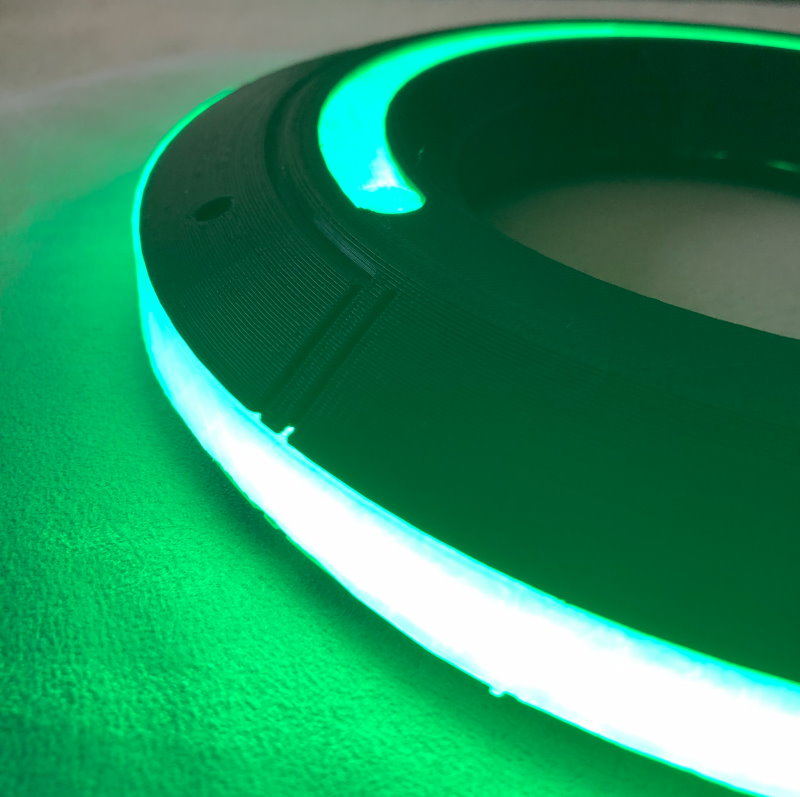
I created a custom Tron disc with a combination of 3D printed parts I designed, and some electronics. The list of parts is below. Here are a few pictures of the finished product:
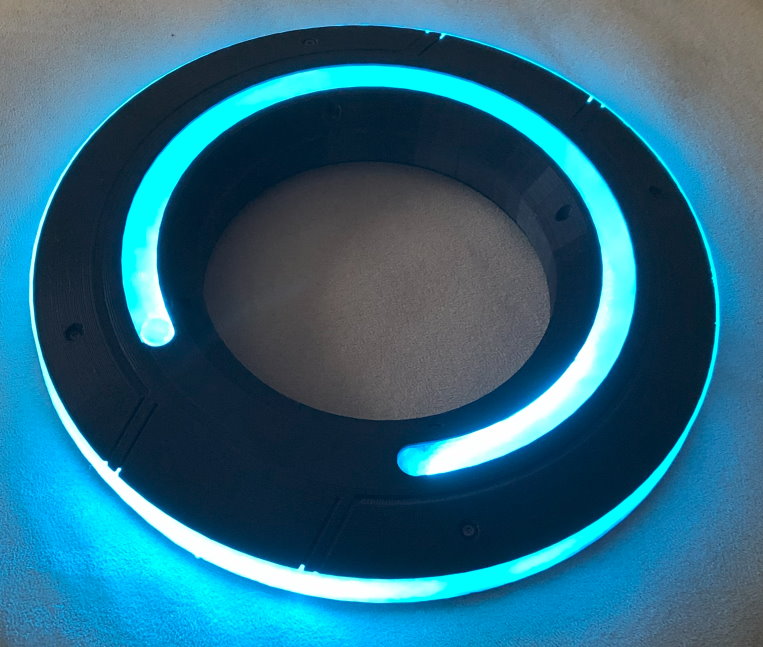
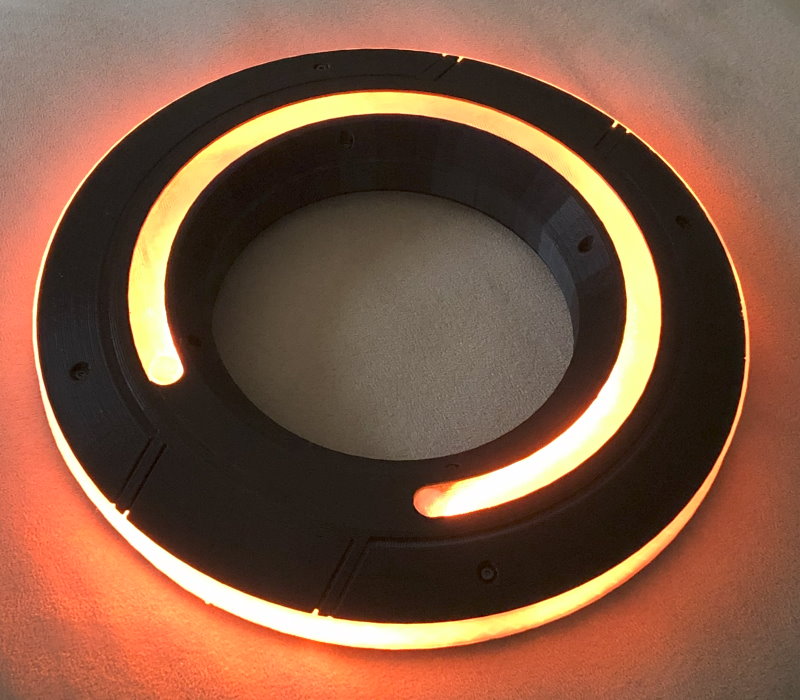
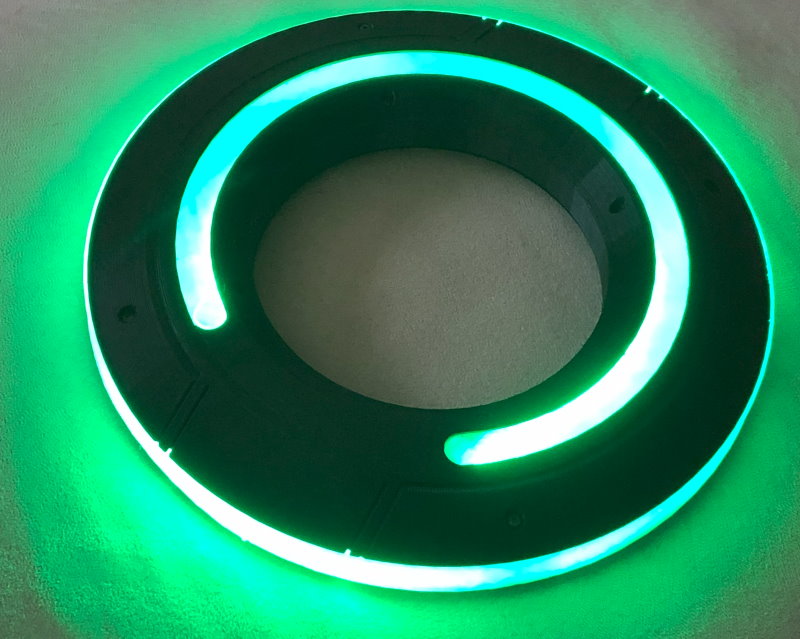
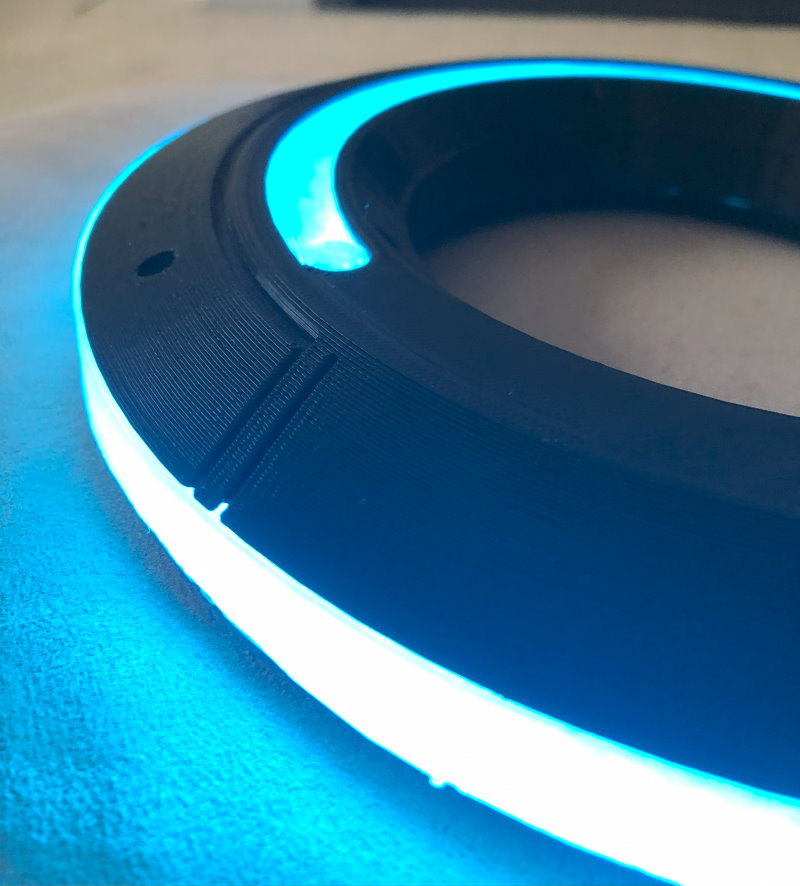
3D Parts
Here are the links to the 4 STL files for 3D printing. I used OnShape to design these:
Electronic Parts
- LED lights with remote (5 ft, cut to length)
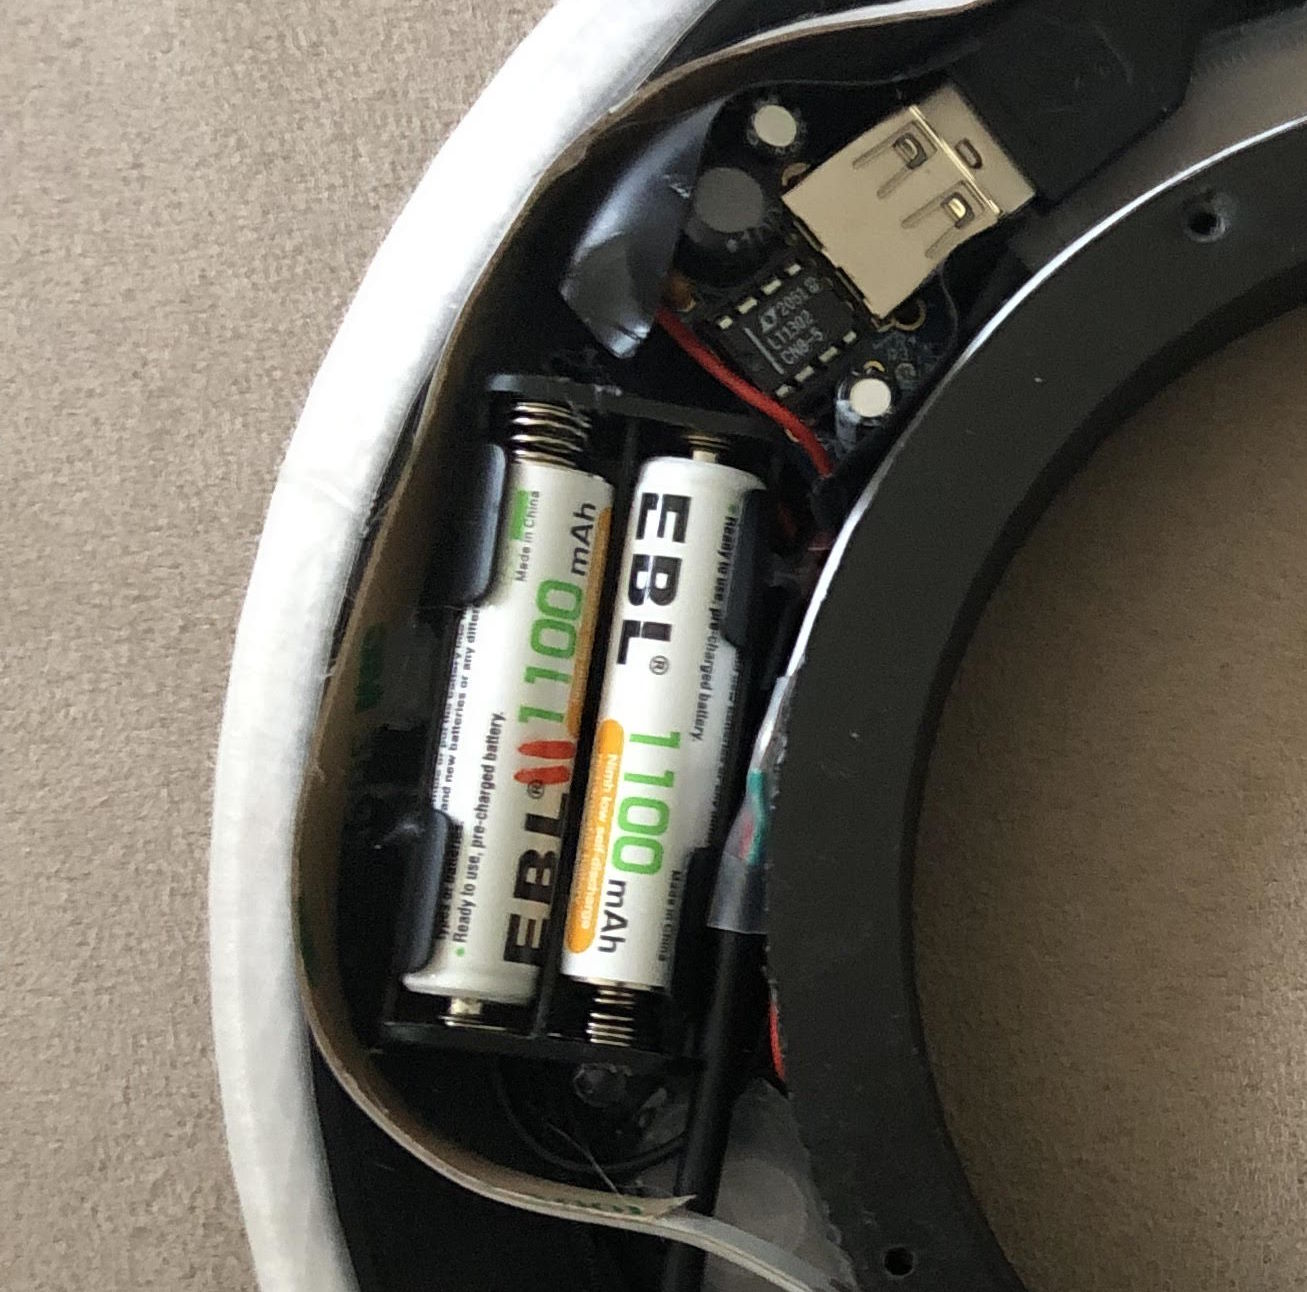
- MintyBoost 3V-5V converter (Adafruit)
- MintyBoost project pages (solder and assembly instructions)
- AAA battery holder
- Black PLA
- Transparent PLA
- AAA rechargeables
Assembly Hints
- Print 2 copies of the shell (black) and 2 copies of the transparent center ring (C shaped). Print 1 copy of the inner ring (black) and outer ring (transparent).
- I used tree supports for the shell. Everything else can be printed without supports.
- The MintyBoost requires soldering and assembly. It’s not too bad if you know how to solder.
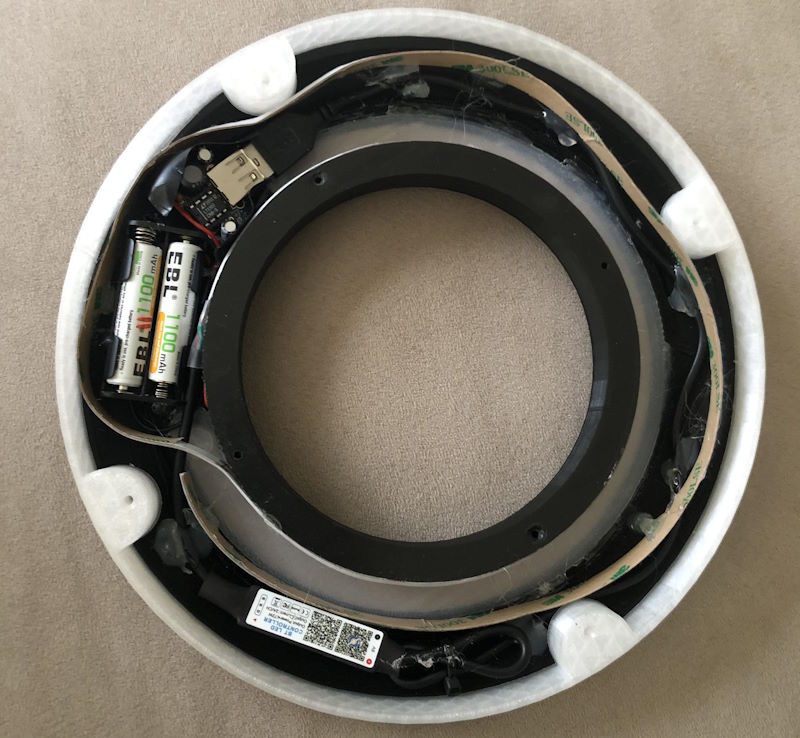
- Don’t put the MintyBoost into the little Altoids tin. Just hot glue the board into the bottom shell.
- Hot glue the LED lights in around the edge (see the images)
- Screws used to assemble: M2 hex bolts (12 mm), black
- The LED lights come with a remote so you can change the color or pattern
- The AAA rechargeables listed last 2-3 hours — you’ll need to unscrew the shell to replace them, there is no battery cover in this design (sorry)
- The batteries seem to drain on their own even when off, the MintyBoost is suspect